Relay Modules for Arduino
Core Specifications:
- Operating Voltage (Module): 5V DC (common for Arduino Uno/Mega).
- Control Voltage (Input Signal): 3V – 5V (TTL Logic), activated by HIGH or LOW signal depending on module type (jumpers often allow High/Low trigger selection).
- Relay Contact Rating (Max Load): 10A @ 250V AC or 10A @ 30V DC (non-inductive).
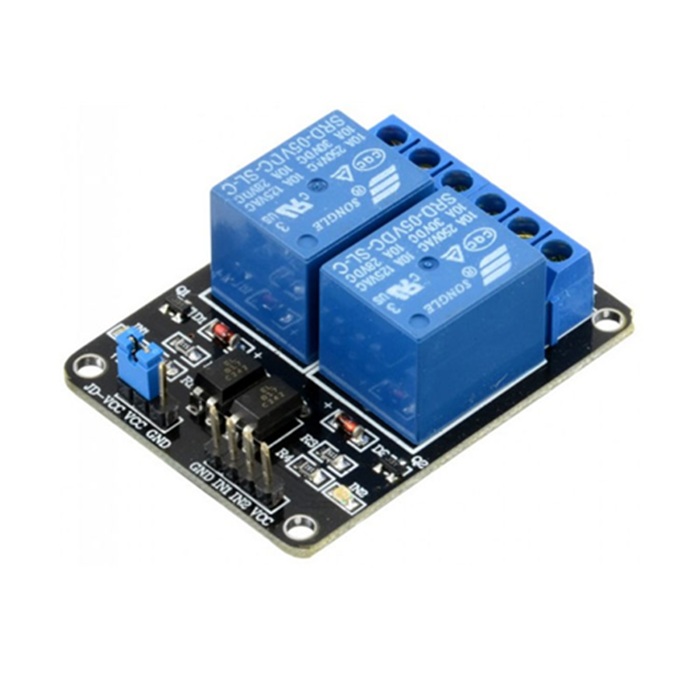
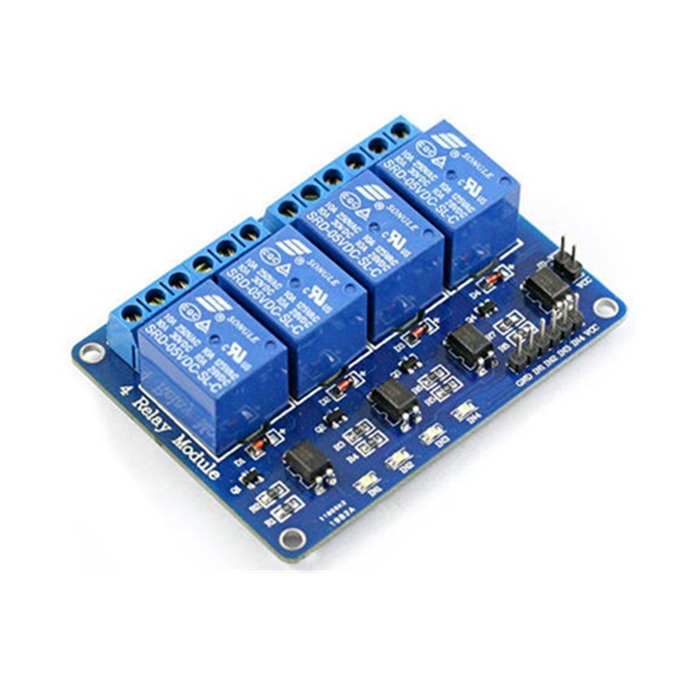
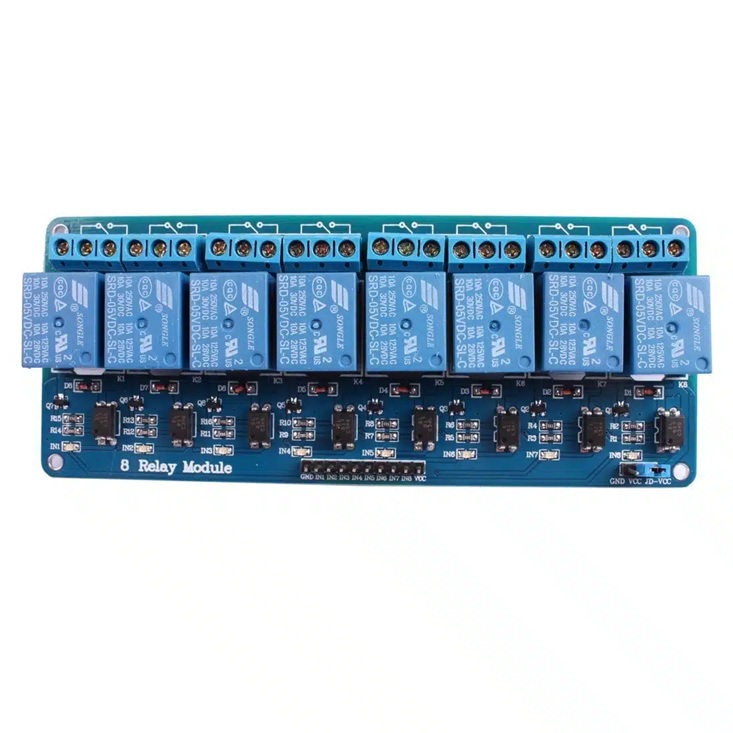
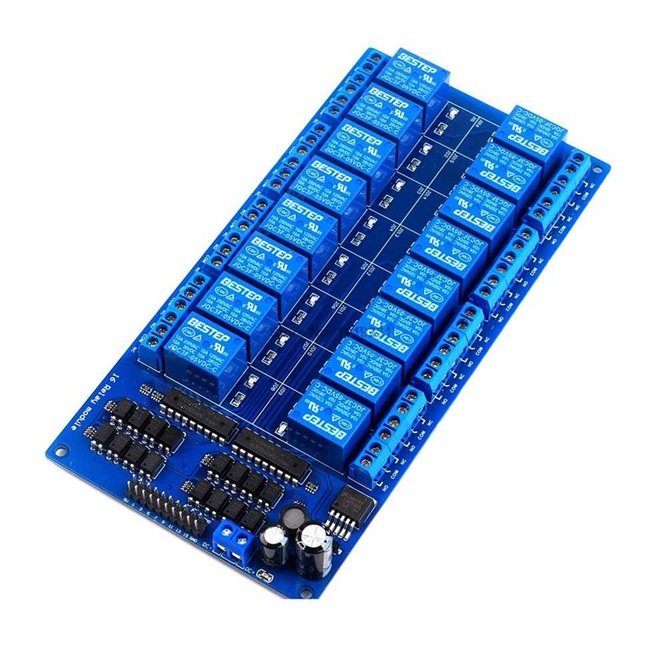
- Number of Channels: Available in 1, 2, 4, 16 channels.
- Isolation: Often includes Opto-coupler isolation for protection between Arduino and high-voltage circuit.
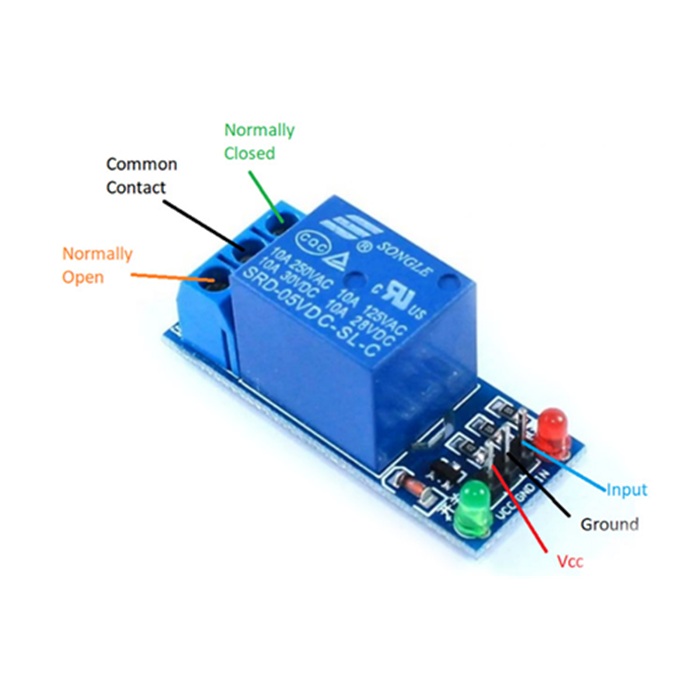
- Output Terminals: Screw terminals for Common (COM), Normally Open (NO), and Normally Closed (NC) connections.
- Indicators: Onboard LEDs show power status and relay activation.
Key Features:
- Easy Control: Directly controllable via Arduino digital pins.
- Power Isolation: Protects your microcontroller from high-voltage loads.
- Versatility: Can switch AC appliances (lights, fans) or DC devices (motors, solenoids) within its current/voltage limits.
- Component Integration: Includes driver transistors, diodes, and LEDs for a complete interface.
How to Use (Basic Idea):
- Connect Power: VCC (5V), GND to your Arduino.
- Connect Signal: Connect an Arduino digital pin to the ‘IN’ pin on the module.
- Connect Load: Wire your high-power device (lamp, motor) to the COM, NO (or NC) terminals on the screw block.
- Code: Set the digital pin as an output in your Arduino sketch and set it HIGH or LOW to activate the relay.